

Welcome to the most rewarding part of your design process: actually implementing your design! But what does that really mean?
At this stage, you need to decide if you're comfortable taking the do-it-yourself (DIY) approach or if you would prefer to hire a professional. There's no correct or incorrect choice here; it entirely depends on your willingness to be hands-on. If you opt for a professional, the advantage is that you can present your complete design plan, which will help with communicating your vision. If you choose the DIY home project path, here are my suggestions for prioritizing your tasks.


Prioritize Your Work In the Correct Order (DIY Home Project)
Before you go for it, I would encourage you to write out the tasks that you need to complete your design. Refer to your design plan and determine what you need to do before adding furniture and all of the fun details. Since every project is different, you may not need to do all of these steps. These are the suggestions I have so that you don't have to do rework later on.
Capture a "before" photo featuring all the current furniture and items in the area. Even if you don't intend to share the pictures online, save it to show friends and family, as they'll likely be curious!
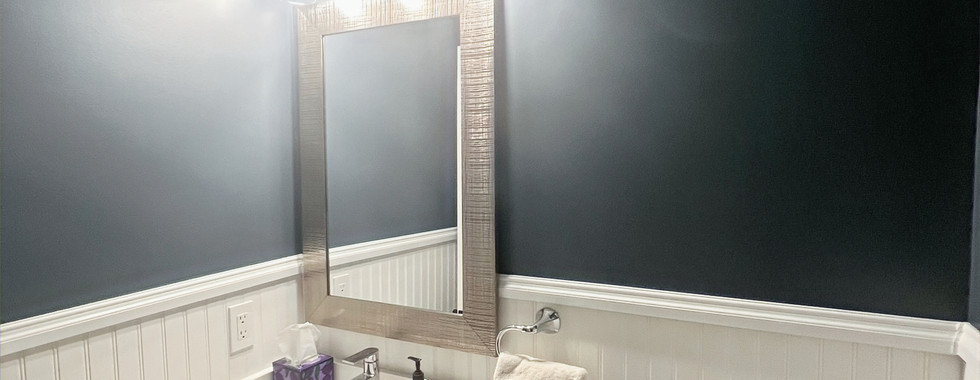
If you're keeping the walls, molding, baseboards, and floors in your space, make sure to clean them. You can vacuum to remove dirt and dust or use a microfiber cloth on the molding and baseboards.
If you are installing lighting that requires rerouting electrical, make any necessary holes in the walls at this point. Before changing any electrical wiring, you will want to research this and possibly hire an electrician who can do the work up to code.
Remove all covers from light switches and electrical outlets. Regardless of whether you intend to paint them, they need to be taken off the wall. Even if you don't plan to paint them, removing them is essential to prevent the new paint from permanently sticking them to the wall.
Patch up any holes or rough patches on the walls and sand once done. Be sure to remove any excess dust from the sanding.
Flooring: If you're planning to sand, refinish, or paint, I suggest completing these tasks before proceeding with painting the walls, baseboards, and molding.
Painting: Start at the top and work your way down. This means ceiling first, followed by walls, and then molding and baseboards. Repeat with a second coat after the first coat has dried. Be sure to paint the electrical outlet covers at this point as well.
Wait for the paint to dry fully before moving in any furniture and finishes.
Install light fixtures and curtain rods.
Clean up the space and put back all tools.
Begin by placing any large area rugs, as this will help you position the furniture correctly.
Add the furniture, curtains, lamps and artwork in the space.
When done, take your finished "after" picture so you can compare it to the original space!
So what do you think about the design plan and this year's home resolutions? Let me know in the comments below!


